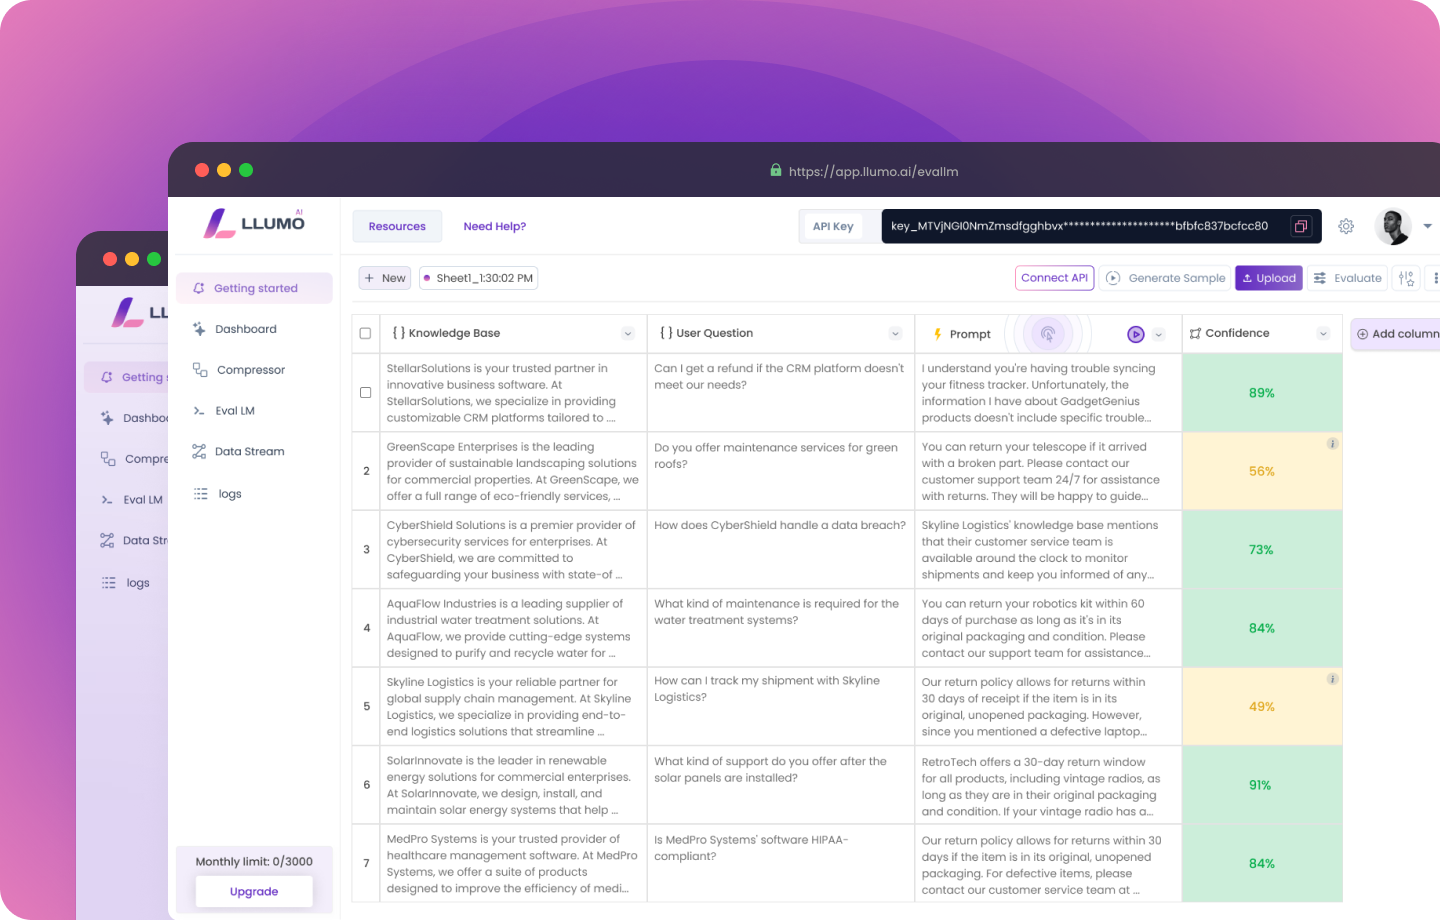

Getting Started with Prompt Evaluation API
This guide provides step-by-step instructions on setting up prompt evaluation API, that helps your evaluate your prompt output and gives you insights.1. Open evaluation setup modal
The “Evaluation setup modal” provides your essential connection details: API endpoint, key, and sample request bodies. This ensures a smooth setup for compressing your prompts.Select Evaluation journey
Select Evaluation journey
After login to LLUMO for the first time, you will see a modal asking you to select the journey - Cost saving and Evaluation. You need to select the Evaluation option.
Navigate to Evaluation and open setup modal
Navigate to Evaluation and open setup modal
2. Access your API keys
The API keys equips you with the credentials needed to connect with Prompt Compression API. This unlocks the power to evaluate your prompts output and gives you hidden insight without any need of ground truth.We suggest you to keep your API keys very safely. If you experience any
misuse, contact our support team.
Click on Connect Now
Click on Connect Now
The setup modal provides an overview of Evaluation and a “Connect Now” CTA.Click on “Connect Now” and it will open the API connection detail modal
Copy API endpoint and API key
Copy API endpoint and API key
- API endpoint: The URL you will use to send requests to the Evaluation API.
- API key: Your unique API key, which is required for authentication. You will be given one API key by default. But, if you want to create multiple API keys, refer to managing your keys.
Add sample code in your editor
Add sample code in your editor
Examples of codes containing request bodies in different languages is provided, that you can use to send a request to the Evaluation API. Copy the sample code block and paste into editor of your choice.
Below is an example of sample code block in python.
compressPrompt.py
Understand the request body
Understand the request body
The request body includes the following important parameters:For fine-grained control over analytics and no ground truth, explore the optional parameters within the request body.
These parameters allow you to tailor metrics to your specific needs and visualize cost breakdowns on the dashboard.
For a detailed breakdown on the API request and response, please refer to the API reference page.
- prompt: (Mandatory) The text prompt you want to compress.
- input: List of placeholders used inside prompt. When there are more than one placeholder then this will be list.
- output: The output of the prompt.
- analytics: List of analytics you want to evaluate your prompt output on.
3. Send first request to Evaluation API
Once you have your request setup for a sample body, you can send a request to the Evaluation API to evaluate your own prompts output based on selected metrics.Write code with correct request body in editor
Write code with correct request body in editor
- Open your directory where LLM project reside in editor of your choice.
- Edit the sample code snippet you copied from LLUMO setup modal.
- Replace the placeholder values for prompt and topic with your specific prompt and topic.
- Include your API key in the header of the request.
- Run the code snippet.
Sending request via API testing tools
Sending request via API testing tools
For a more interactive experience, we recommend using API testing tools like Postman or Thunder Client. Below is the step-by-step detailed video explaining the complete process.

See the request in logs and visualize metrics on dashboard
See the request in logs and visualize metrics on dashboard
After sending the request, you can view the logs and metrics generated on the dashboard to see how the evaluation process performed. This information can help you optimize your requests for better results.